Have you ever wanted to create beautiful henna designs but thought it was too complicated? Well, guess what? You’re in the right place! Henna designs easy is all about making this ancient art form accessible to everyone, even if you’re a complete beginner. Whether you’re attending a special event, hosting a party, or simply experimenting with body art, henna can add that perfect touch. So, let’s dive right in and explore how you can master this art effortlessly!
Creating henna designs doesn’t have to be overwhelming. Sure, there are intricate patterns out there that might seem like they require years of practice, but that’s not always the case. With a few simple tricks, anyone can create stunning and meaningful designs that look professional in no time. Think of it as doodling on your skin, but with a cultural twist!
What makes henna designs easy so appealing is that it’s not just about the art itself. It’s a celebration of culture, tradition, and personal expression. From simple floral patterns to geometric shapes, the possibilities are endless. And the best part? It’s temporary, so you can experiment without any long-term commitment. Let’s get started, shall we?
Read also:Viral Mms Com
Why Henna Designs Easy Is the Perfect Art Form for Beginners
Understanding the Basics of Henna Art
Henna, also known as mehndi, has been around for centuries, originating in ancient cultures like India, Africa, and the Middle East. Traditionally, it was used for weddings, festivals, and religious ceremonies. Today, henna designs easy have become a global trend, and it’s not hard to see why. The process is simple, non-invasive, and offers a unique way to express yourself creatively.
One of the reasons henna designs easy is perfect for beginners is the flexibility it offers. Unlike permanent tattoos, henna allows you to experiment with different styles and patterns without any fear of regret. Plus, the tools and materials needed are affordable and easy to find. All you need is a henna cone, some practice paper, and a bit of patience.
Top Henna Tools and Materials for Beginners
What You’ll Need to Get Started
Before diving into the world of henna designs easy, it’s important to gather the right tools. Here’s a quick list of essentials:
- Henna Cone: This is the most important tool you’ll need. Look for a cone with a fine tip for precision.
- Practice Paper: Before applying henna to the skin, practice on paper to get a feel for the cone and your design.
- Henna Paste: Make sure you’re using high-quality henna paste. You can either make it at home or buy pre-made cones.
- Moisturizer: Avoid using oily moisturizers, as they can prevent the henna from staining properly. Instead, opt for natural options like lemon-sugar paste.
Once you’ve gathered your materials, it’s time to start practicing. Remember, practice makes perfect, and henna designs easy is all about building confidence and honing your skills.
Step-by-Step Guide to Creating Easy Henna Designs
Breaking Down the Process
Now that you’ve got your tools ready, let’s break down the steps to creating henna designs easy:
- Choose a Design: Start with something simple, like a flower, leaf, or geometric shape. You can find inspiration online or create your own design.
- Practice on Paper: Before applying henna to the skin, practice on paper to get a feel for the cone and your design.
- Prepare the Skin: Clean the area where you’ll be applying the henna. Avoid using oils or lotions, as they can interfere with the staining process.
- Apply the Henna: Hold the cone like a pen and apply the henna in smooth, steady strokes. Don’t rush—take your time and enjoy the process.
- Let It Dry: Allow the henna to dry for at least 20-30 minutes. You can use a hairdryer on a low setting to speed up the process.
- Remove the Paste: After a few hours, gently scrape off the dried henna paste. The longer you leave it on, the darker the stain will be.
Voilà! You’ve just created your first henna design. Wasn’t that easy?
Read also:Allan Mueses Married The Inside Scoop Yoursquove Been Waiting For
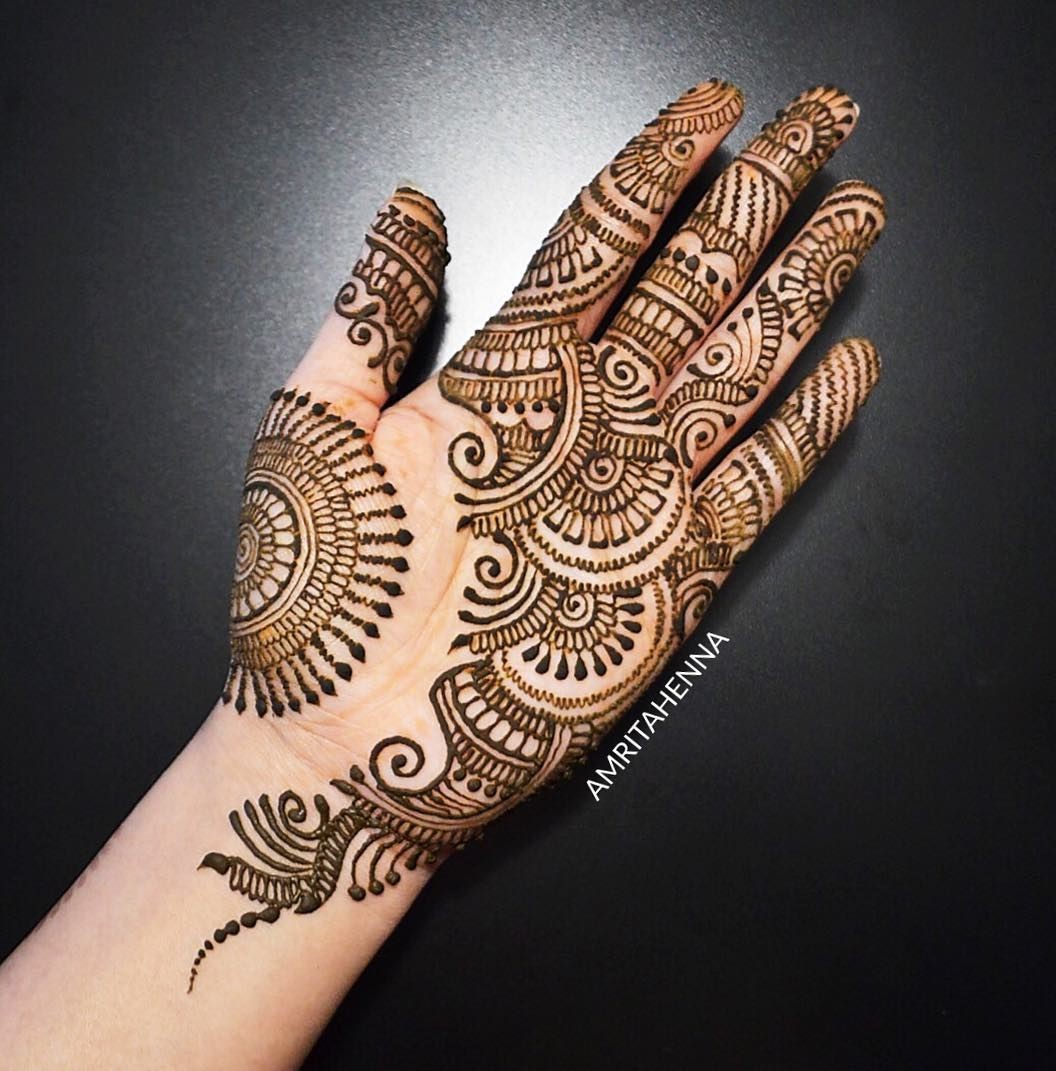
Popular Henna Designs for Beginners
Simple Patterns to Try at Home
When it comes to henna designs easy, there are plenty of patterns to choose from. Here are a few popular options for beginners:
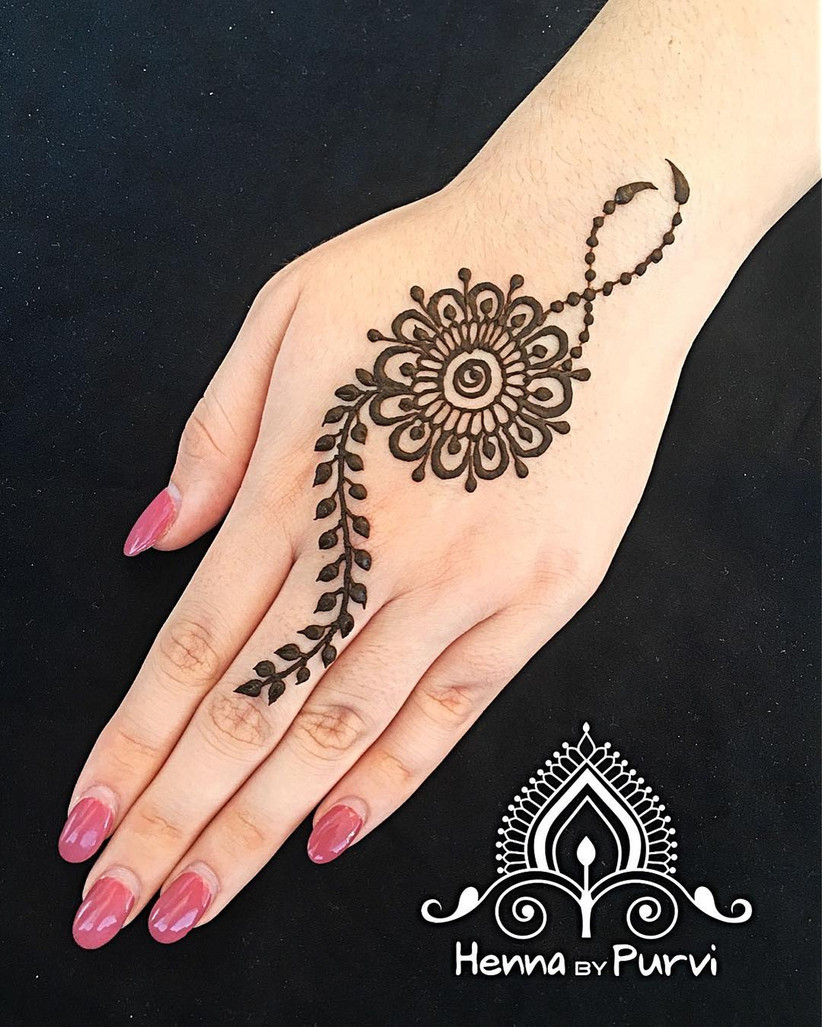
- Floral Designs: Flowers are a classic choice for henna art. Start with a simple flower and add petals or leaves to create a more intricate design.
- Geometric Shapes: Geometric patterns are perfect for those who love clean lines and symmetry. Try combining triangles, circles, and squares for a modern look.
- Vine Patterns: Vine designs are great for covering larger areas like the hand or forearm. Start with a central line and add leaves or flowers along the way.
- Animal Motifs: If you’re feeling adventurous, try incorporating animal motifs like peacocks or butterflies into your design.
Remember, the key to henna designs easy is to start small and build up gradually. As you gain confidence, you can experiment with more complex patterns.
Tips and Tricks for Perfecting Your Henna Art
Secrets to Stunning Henna Designs
Creating henna designs easy doesn’t have to be a guessing game. Here are a few tips to help you achieve professional-looking results:
- Use a Fine-Tip Cone: A fine-tip cone will give you more control over your design, allowing you to create intricate details.
- Practice Regularly: Like any skill, henna art takes practice. Spend some time each day practicing on paper to improve your technique.
- Experiment with Colors: While traditional henna is reddish-brown, you can also find cones in other colors like black or white for a unique look.
- Protect Your Design: Once the henna is applied, avoid washing the area for at least 6-8 hours. Use a bandage or cotton ball to protect the design while it sets.
With these tips in mind, you’ll be creating stunning henna designs in no time!
Common Mistakes to Avoid in Henna Art
Don’t Let These Pitfalls Ruin Your Design
Even the best henna artists make mistakes sometimes. Here are a few common pitfalls to avoid:
- Rushing the Process: Henna art requires patience. Don’t rush the application or drying process, as this can lead to smudging or uneven staining.
- Using Low-Quality Henna: Invest in high-quality henna paste to ensure the best results. Cheap or synthetic henna can cause irritation or produce poor stains.
- Not Practicing Enough: Henna designs easy may seem straightforward, but it still requires practice. Don’t be afraid to make mistakes—it’s all part of the learning process.
By avoiding these common mistakes, you’ll be well on your way to becoming a henna pro!
Understanding the Cultural Significance of Henna
More Than Just Body Art
Henna designs easy isn’t just about creating beautiful patterns on the skin. It’s also a celebration of culture and tradition. In many cultures, henna is used to mark special occasions like weddings, festivals, and religious ceremonies. It’s a way to connect with your heritage and express your identity.
For example, in Indian weddings, henna is applied to the bride’s hands and feet in intricate designs that symbolize love, prosperity, and good fortune. In Morocco, henna is used during Eid celebrations to bring blessings and ward off evil spirits. Understanding the cultural significance of henna can add depth and meaning to your designs.
How to Make Henna Paste at Home
DIY Henna Paste Recipe
If you’re feeling adventurous, why not try making your own henna paste at home? Here’s a simple recipe to get you started:
- Ingredients: Henna powder, lemon juice, essential oil (like eucalyptus or tea tree), and sugar.
- Instructions: Mix the henna powder with lemon juice and essential oil until you achieve a smooth, yogurt-like consistency. Add sugar to help the paste stick to the skin. Let the mixture sit for at least 6-8 hours before use.
Homemade henna paste is not only affordable but also ensures that you’re using natural, high-quality ingredients.
Where to Find Inspiration for Henna Designs
Unleash Your Creativity
When it comes to henna designs easy, inspiration can come from anywhere. Here are a few places to find ideas:
- Social Media: Platforms like Instagram and Pinterest are full of stunning henna designs to spark your creativity.
- Cultural Festivals: Attend local festivals or events to see traditional henna designs up close.
- Art Books: Look for books on henna art or cultural patterns for inspiration.
Remember, the beauty of henna designs easy lies in its versatility. Don’t be afraid to mix and match styles to create something truly unique!
Conclusion: Your Journey into Henna Art Starts Here
Creating henna designs easy doesn’t have to be intimidating. With the right tools, practice, and a bit of creativity, anyone can master this ancient art form. Whether you’re designing for yourself or others, henna offers a beautiful way to express yourself and connect with your culture.
So, what are you waiting for? Grab your henna cone and start doodling! And don’t forget to share your creations with us in the comments below. Who knows? You might just inspire someone else to try henna designs easy too!
Table of Contents
- Why Henna Designs Easy Is the Perfect Art Form for Beginners
- Top Henna Tools and Materials for Beginners
- Step-by-Step Guide to Creating Easy Henna Designs
- Popular Henna Designs for Beginners
- Tips and Tricks for Perfecting Your Henna Art
- Common Mistakes to Avoid in Henna Art
- Understanding the Cultural Significance of Henna
- How to Make Henna Paste at Home
- Where to Find Inspiration for Henna Designs
- Conclusion: Your Journey into Henna Art Starts Here