Creating a boutonniere might seem like a daunting task, but trust me, it’s not as complicated as it looks. Whether you’re attending a wedding, prom, or any formal event, a boutonniere can be the perfect finishing touch to your outfit. In this article, we’ll walk you through everything you need to know about crafting a stunning boutonniere that will make you stand out. So, let’s dive right in!
Imagine walking into a room with a fresh, handmade boutonniere pinned to your lapel. It’s not just an accessory—it’s a statement. Knowing how to make a boutonniere is a skill that can save you money and give you bragging rights among your friends. Plus, it’s way cooler than picking something up from a store.
Before we get into the nitty-gritty, let’s address the elephant in the room: why bother making a boutonniere yourself? Well, for starters, it’s a personal touch that shows you care about details. And hey, who doesn’t love a good DIY project? Now, let’s roll up our sleeves and learn how to make a boutonniere step by step.
Read also:Videmms
What is a Boutonniere Anyway?
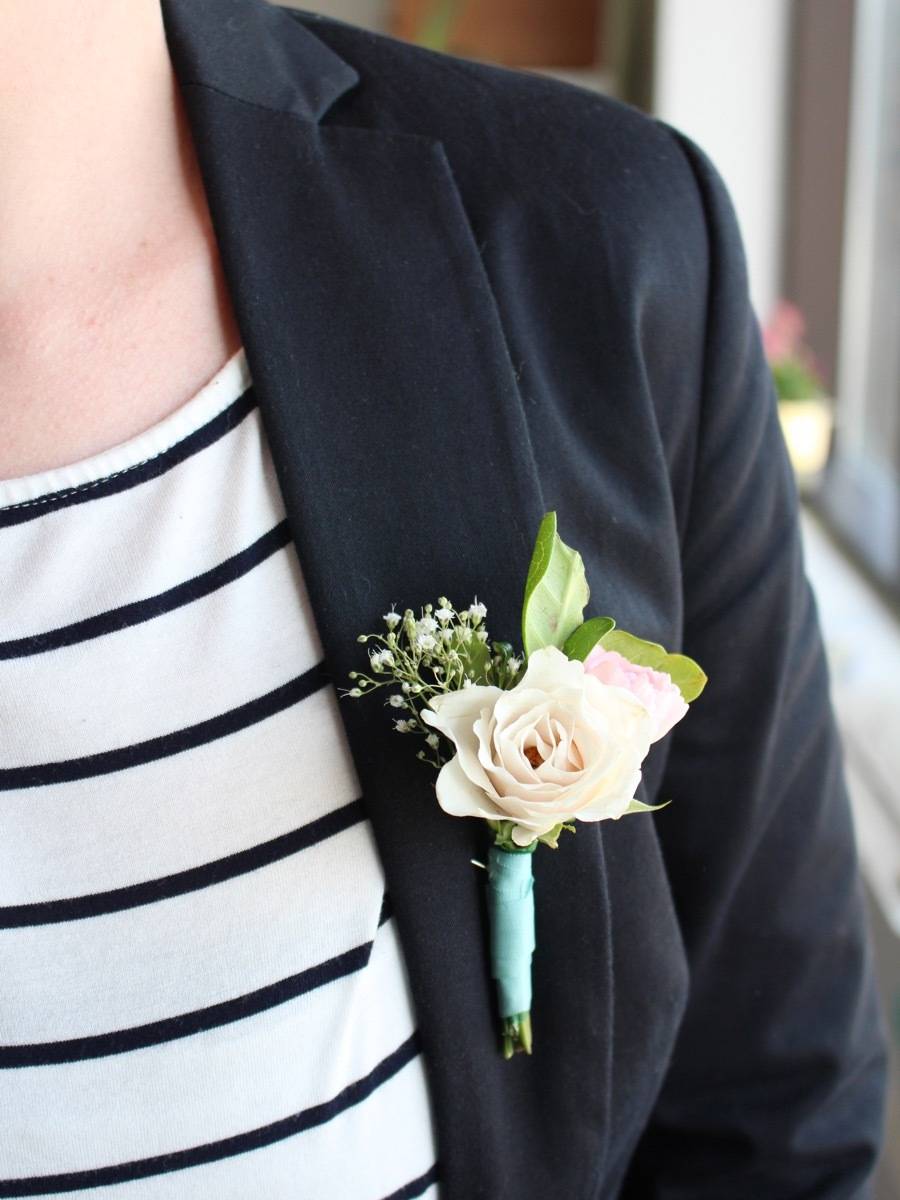
A boutonniere is essentially a small flower arrangement worn on the lapel of a suit jacket. It’s the male equivalent of a corsage and is often used in formal settings. But here’s the kicker—it doesn’t have to be boring. You can customize it to match your outfit, the event theme, or even your personal style. Think of it as a mini masterpiece that complements your look.
In the olden days, boutonnieres were all about roses and carnations. But these days, the options are limitless. You can use anything from delicate baby’s breath to bold succulents. The key is to choose flowers that resonate with the occasion and your personality.
Why Learn How to Make a Boutonniere?
Here’s the deal: learning how to make a boutonniere is more than just a fun activity. It’s an investment in your style game. Think about it—every time you attend a formal event, you’ll have the power to create something unique instead of settling for generic store-bought options. Plus, it’s a skill that can come in handy if you ever find yourself in a pinch.
Another reason to DIY your boutonniere? It’s way cheaper than buying one. With just a few bucks and some basic tools, you can craft something that looks like it came straight out of a high-end florist’s studio. And let’s not forget the satisfaction of saying, “Yeah, I made that myself.”
Tools and Materials You’ll Need
Before we jump into the process, let’s talk about the tools and materials you’ll need to make a boutonniere. Here’s a quick rundown:
- Flowers (fresh or silk, depending on your preference)
- Green floral tape
- Wire cutters or scissors
- Floral wire (optional)
- A needle and thread (optional)
- A boutonniere pin or safety pin
- Green floral ribbon or twine (optional)
Don’t worry if you’re not a florist by trade. These materials are easy to find at any craft store or online. And if you’re on a budget, you can always opt for silk flowers—they look just as good and last way longer.
Read also:Mms Video
Choosing the Right Flowers
When it comes to selecting flowers for your boutonniere, the sky’s the limit. Here are a few popular options:
- Roses: Classic and timeless
- Carnations: Durable and affordable
- Gardenias: Luxurious and fragrant
- Calla Lilies: Modern and sleek
- Eucalyptus: Adds a touch of greenery
Remember, the flowers you choose should complement your outfit and the overall vibe of the event. If you’re unsure, stick to neutral colors like white, cream, or green. They’re versatile and won’t clash with anything.
Step-by-Step Guide to Making a Boutonniere
Now that you’ve got your materials ready, let’s break down the process of making a boutonniere into simple steps. Follow along, and you’ll have a stunning accessory in no time.
Step 1: Prepare Your Flowers
Start by trimming the stems of your flowers to about 2-3 inches. This will make them easier to work with and ensure they fit securely on your lapel. If you’re using silk flowers, you can skip this step since their stems are usually pre-trimmed.
Step 2: Assemble the Arrangement
Arrange your flowers in a way that looks balanced and aesthetically pleasing. Typically, a boutonniere consists of one main flower surrounded by smaller accent flowers or greenery. Use your fingers to gently shape the arrangement until you’re happy with how it looks.
Step 3: Wrap the Stems
Take your green floral tape and wrap it tightly around the stems of your arrangement. This will hold everything in place and give your boutonniere a polished look. Make sure to wrap all the way to the base of the flowers for added stability.
Step 4: Add a Ribbon or Twine
If you want to add an extra touch of elegance, tie a ribbon or twine around the base of your boutonniere. This not only looks great but also helps secure the arrangement further. Use a simple bow or knot to finish it off.
Step 5: Attach the Pin
Finally, attach a boutonniere pin or safety pin to the back of your creation. This will allow you to easily secure it to your lapel without damaging your suit jacket. And voilà—you’ve got yourself a masterpiece!
Tips and Tricks for a Perfect Boutonniere
Here are a few extra tips to help you create a boutonniere that looks like it was made by a pro:
- Choose flowers that are in season for the best quality and price.
- Consider the color scheme of the event when picking your flowers.
- Don’t overdo it—less is often more when it comes to boutonnieres.
- Practice ahead of time so you’re confident on the big day.
And remember, the most important thing is to have fun with it. Your boutonniere should reflect your personality and style, so don’t be afraid to experiment with different combinations.
Common Mistakes to Avoid
While making a boutonniere is relatively simple, there are a few mistakes that can ruin your masterpiece. Here are some things to watch out for:
- Choosing flowers that are too large or heavy for your lapel.
- Using too many colors or elements, which can make the boutonniere look cluttered.
- Forgetting to test the pin beforehand to ensure it holds securely.
By avoiding these common pitfalls, you’ll be able to create a boutonniere that looks polished and professional.
How to Care for Your Boutonniere
If you’re using fresh flowers, it’s important to take care of your boutonniere to ensure it stays looking great until the event. Here are a few tips:
- Keep the flowers in water until you’re ready to assemble the boutonniere.
- Store the boutonniere in a cool, dry place to prevent wilting.
- Handle it gently to avoid damaging the petals or stems.
And if you’re using silk flowers, store them in a dust-free area to keep them looking fresh for future events.
Where to Find Inspiration
Need some inspiration for your boutonniere? Look no further than Pinterest, Instagram, or even your favorite wedding blogs. There are tons of amazing designs out there that can spark your creativity. Just remember to tailor them to your personal style and the event you’re attending.
Another great source of inspiration is nature itself. Take a walk in your local park or garden and see what catches your eye. You might find the perfect flower or color combination just waiting to be turned into a boutonniere.
Conclusion
Making a boutonniere is a skill that every guy should have in their arsenal. It’s a fun and rewarding activity that can elevate your style game and save you money in the long run. By following the steps and tips outlined in this article, you’ll be able to create a stunning boutonniere that’s sure to impress.
So, what are you waiting for? Grab your materials and start crafting your masterpiece today. And don’t forget to share your creations with us in the comments below—we’d love to see what you come up with!
Table of Contents