Let’s talk about drawing turkeys, folks! You’ve probably seen turkeys in cartoons, on Thanksgiving decorations, or even in real life if you live in certain parts of the world. But have you ever thought about how to draw one? Drawing a turkey might sound tricky at first, but trust me—it’s way easier than you think. Whether you’re an art enthusiast or just someone looking for a fun activity, this guide will help you create your very own turkey masterpiece.
Now, before we dive into the nitty-gritty details, let’s set the mood. Grab a pencil, some paper, and maybe even some colored markers or crayons because we’re about to get creative. Drawing turkeys isn’t just about creating a picture; it’s about expressing yourself and having fun while doing it.
So, why should you learn how to draw a turkey? Well, it’s not just about the end result—it’s about the process. This guide is packed with tips, tricks, and step-by-step instructions that will make you feel like a pro in no time. Ready to join the turkey-drawing party? Let’s go!
Read also:Leaked Viral Mms
What You’ll Need to Get Started
Before we jump into the drawing part, let’s talk about what tools you’ll need. Don’t worry, you don’t need fancy equipment to draw a turkey. Here’s a quick list of what you’ll need:
- A piece of paper (any type will do!)
- A pencil (HB or 2B works best)
- An eraser (because mistakes happen, and that’s okay)
- Colored pencils, markers, or crayons (for adding some flair)
- Your imagination (the most important tool of all!)
See? Nothing too complicated. The beauty of drawing is that you can use whatever tools you have on hand. So, let’s move on to the next step.
Understanding the Basics of a Turkey
Before we start drawing, it’s always a good idea to understand what we’re working with. Turkeys are fascinating creatures with unique features that make them stand out. Let’s break down the anatomy of a turkey so you can capture its essence in your drawing.
Key Features of a Turkey
Here are some key features to keep in mind when drawing a turkey:
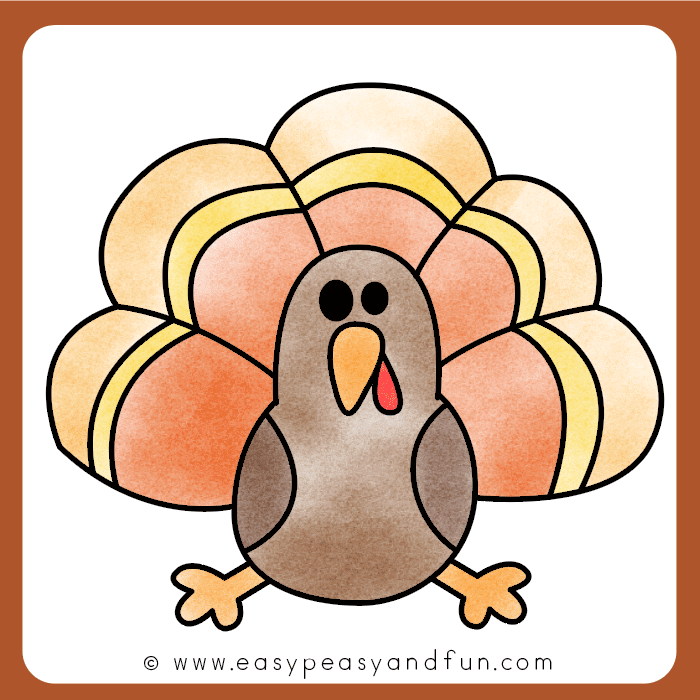
- Body: Turkeys have a large, round body that’s usually covered in feathers.
- Head: The head is small compared to the body, and it’s often brightly colored.
- Feathers: The feathers around the tail are what give turkeys their iconic look.
- Beak: Turkeys have a sharp, curved beak that they use for eating.
- Wattle: That red, floppy skin under the turkey’s chin is called a wattle.
Now that you know what to look for, let’s move on to the drawing steps!
Step-by-Step Guide to Draw a Turkey
Alright, here’s where the magic happens. Follow these simple steps to draw your very own turkey:
Read also:Bill Gatzimos
Step 1: Sketch the Body
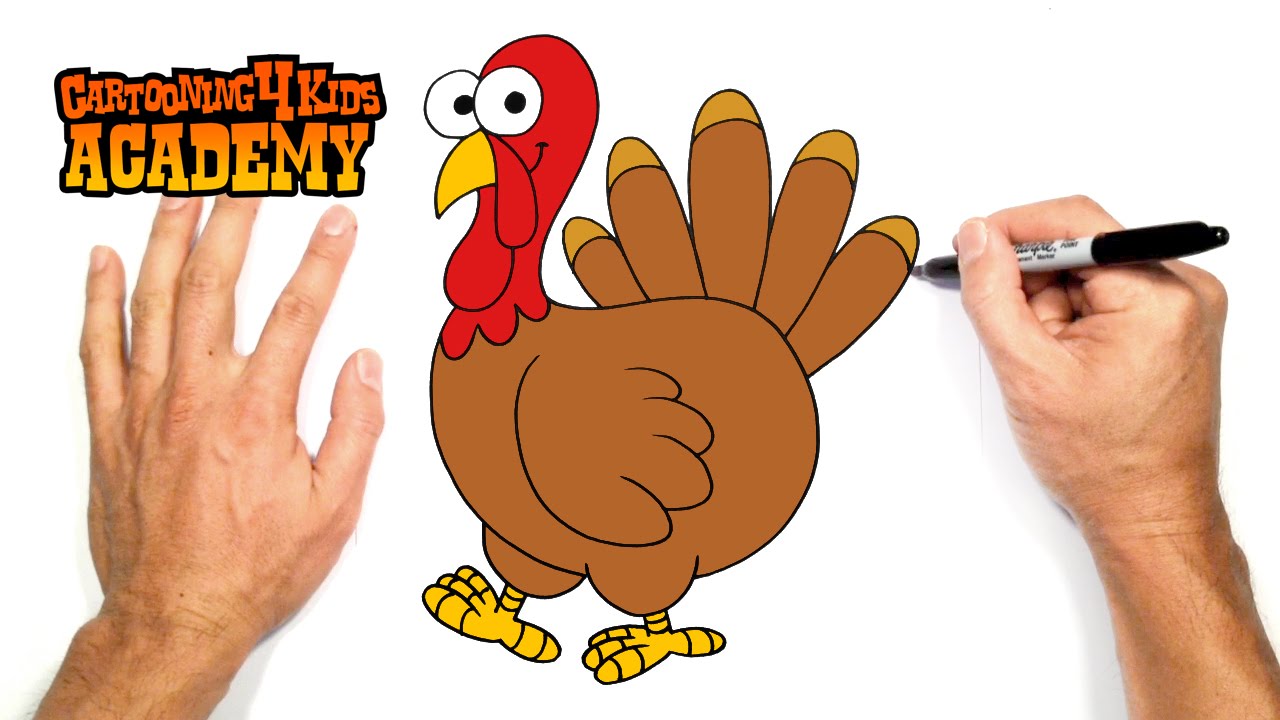
Start by drawing a large oval shape for the body. This will be the foundation of your turkey, so take your time and make sure it’s nice and round. Don’t worry if it’s not perfect—turkeys come in all shapes and sizes!
Step 2: Add the Head and Neck
Next, draw a smaller oval for the head and a curved line for the neck. Connect the head to the body with a smooth line. Remember, the head should be much smaller than the body.
Step 3: Draw the Beak and Wattle
Now it’s time to add some personality to your turkey. Draw a small triangle for the beak and a teardrop shape for the wattle. These details will give your turkey that classic look.
Step 4: Create the Feathers
This is the fun part! Draw large, curved lines around the body to create the turkey’s tail feathers. These feathers should fan out like a peacock’s tail. You can add as many feathers as you like—just make sure they’re evenly spaced.
Step 5: Add Details
Once you’ve drawn the basic shape of your turkey, it’s time to add some details. Draw small circles for the eyes and add some shading to give your turkey more depth. You can also add patterns to the feathers to make them look more realistic.
Step 6: Color Your Turkey
Finally, grab your colored pencils or markers and bring your turkey to life! Turkeys are known for their vibrant colors, so feel free to get creative. Use shades of brown, orange, red, and green to make your turkey pop.
Tips and Tricks for Drawing Turkeys
Here are a few tips to help you take your turkey-drawing skills to the next level:
- Practice makes perfect: Don’t be discouraged if your first turkey doesn’t look exactly how you imagined. Keep practicing, and you’ll get better with time.
- Study real turkeys: Look at pictures of turkeys online or in books to get a better understanding of their anatomy. This will help you create more realistic drawings.
- Experiment with styles: Try drawing turkeys in different styles, such as cartoonish or realistic. This will help you find your own unique style.
- Have fun: Remember, drawing is supposed to be fun! Don’t take it too seriously—just enjoy the process.
These tips will help you create turkeys that are as unique as you are. So, don’t be afraid to experiment and try new things!
Common Mistakes to Avoid
While drawing turkeys is fun, there are a few common mistakes that beginners often make. Here are some things to watch out for:
Mistake 1: Forgetting the Details
One of the most common mistakes is forgetting to add details like the wattle or the feathers. These small details are what make your turkey look realistic, so don’t skip them!
Mistake 2: Drawing the Feathers Too Small
Another common mistake is drawing the feathers too small. Remember, turkeys are known for their large, fan-like feathers. Make sure your feathers are big and bold!
Mistake 3: Not Practicing Enough
Drawing is a skill that takes time to develop. If you want to improve, you need to practice regularly. Don’t be afraid to make mistakes—just keep practicing and you’ll see progress over time.
Why Drawing Turkeys is Good for You
Believe it or not, drawing turkeys can actually be good for your mental health. Here are a few reasons why:
- Reduces stress: Drawing is a great way to relax and unwind after a long day.
- Boosts creativity: Drawing encourages you to think outside the box and come up with new ideas.
- Improves focus: Drawing requires concentration, which can help improve your focus and attention span.
- Builds confidence: As you get better at drawing, you’ll start to feel more confident in your abilities.
So, not only is drawing turkeys fun, but it’s also good for you. Win-win, right?
Fun Facts About Turkeys
Did you know that turkeys are more than just a Thanksgiving staple? Here are a few fun facts about these fascinating birds:
- Turkeys can run up to 25 miles per hour!
- Male turkeys are called toms, while female turkeys are called hens.
- Turkeys have excellent hearing, even though they don’t have ears.
- Turkeys can see in color and have a wide field of vision.
These fun facts will give you even more inspiration when drawing your turkeys. Who knows? Maybe you’ll create a whole flock of turkey drawings!
Conclusion: Your Turkey-Drawing Journey Awaits
Well, there you have it—everything you need to know about how to draw a turkey. From understanding the basics of a turkey’s anatomy to mastering the step-by-step process, you now have the tools to create your very own turkey masterpiece.
Remember, drawing is all about having fun and expressing yourself. Don’t be afraid to make mistakes or try new things. The more you practice, the better you’ll get. So, grab your pencil and start drawing—you never know where your turkey-drawing journey might take you!
And don’t forget to share your creations with the world. Whether it’s on social media or with your friends and family, showing off your art is a great way to spread joy and inspiration. Happy drawing, folks!
Table of Contents