Ever wondered how to create a stunning spider web drawing that looks both realistic and artistic? Well, you're in luck because today we’re diving deep into the world of spider web art. Whether you're a beginner or an experienced artist, this guide will teach you everything you need to know to master the art of drawing spider webs. From basic shapes to intricate details, we’ve got you covered.
Spider web drawings are more than just lines on paper; they’re a representation of nature's beauty and complexity. If you’ve ever been fascinated by the delicate yet strong structure of a spider web, then this article is perfect for you. We’ll explore the basics, tips, and tricks to make your artwork stand out.
So, grab your pencils, erasers, and sketchbooks because it’s time to unleash your inner artist. Let’s get started with some essential tips and techniques that will elevate your spider web drawing skills to the next level. Trust me, by the end of this article, you’ll be creating masterpieces that’ll leave everyone in awe.
Read also:Ukdevilz
Why Spider Web Drawing Matters in Art
Spider web drawings have been a popular subject in the art world for centuries. They represent not only the intricate patterns found in nature but also the balance between chaos and order. Artists often use spider webs as a symbol of connection, fragility, and strength. If you’re looking to add depth and meaning to your artwork, spider web drawing is an excellent choice.
Moreover, spider web art is versatile. You can incorporate it into various styles, from realistic to abstract. The possibilities are endless! Whether you’re creating a standalone piece or integrating spider webs into a larger composition, understanding the basics of spider web drawing will enhance your artistic abilities.
Tools You’ll Need for Spider Web Drawing
Before we dive into the techniques, let’s talk about the tools you’ll need. Having the right materials can make a huge difference in your final artwork. Here’s a quick list of essentials:
- Pencils (HB, 2B, 4B)
- Eraser (kneaded and regular)
- Sketchbook or drawing paper
- Blending tools (tortillons or blending stumps)
- Reference images (optional)
These tools will help you achieve a wide range of textures and shading effects, which are crucial for creating realistic spider web drawings.
Understanding the Structure of a Spider Web
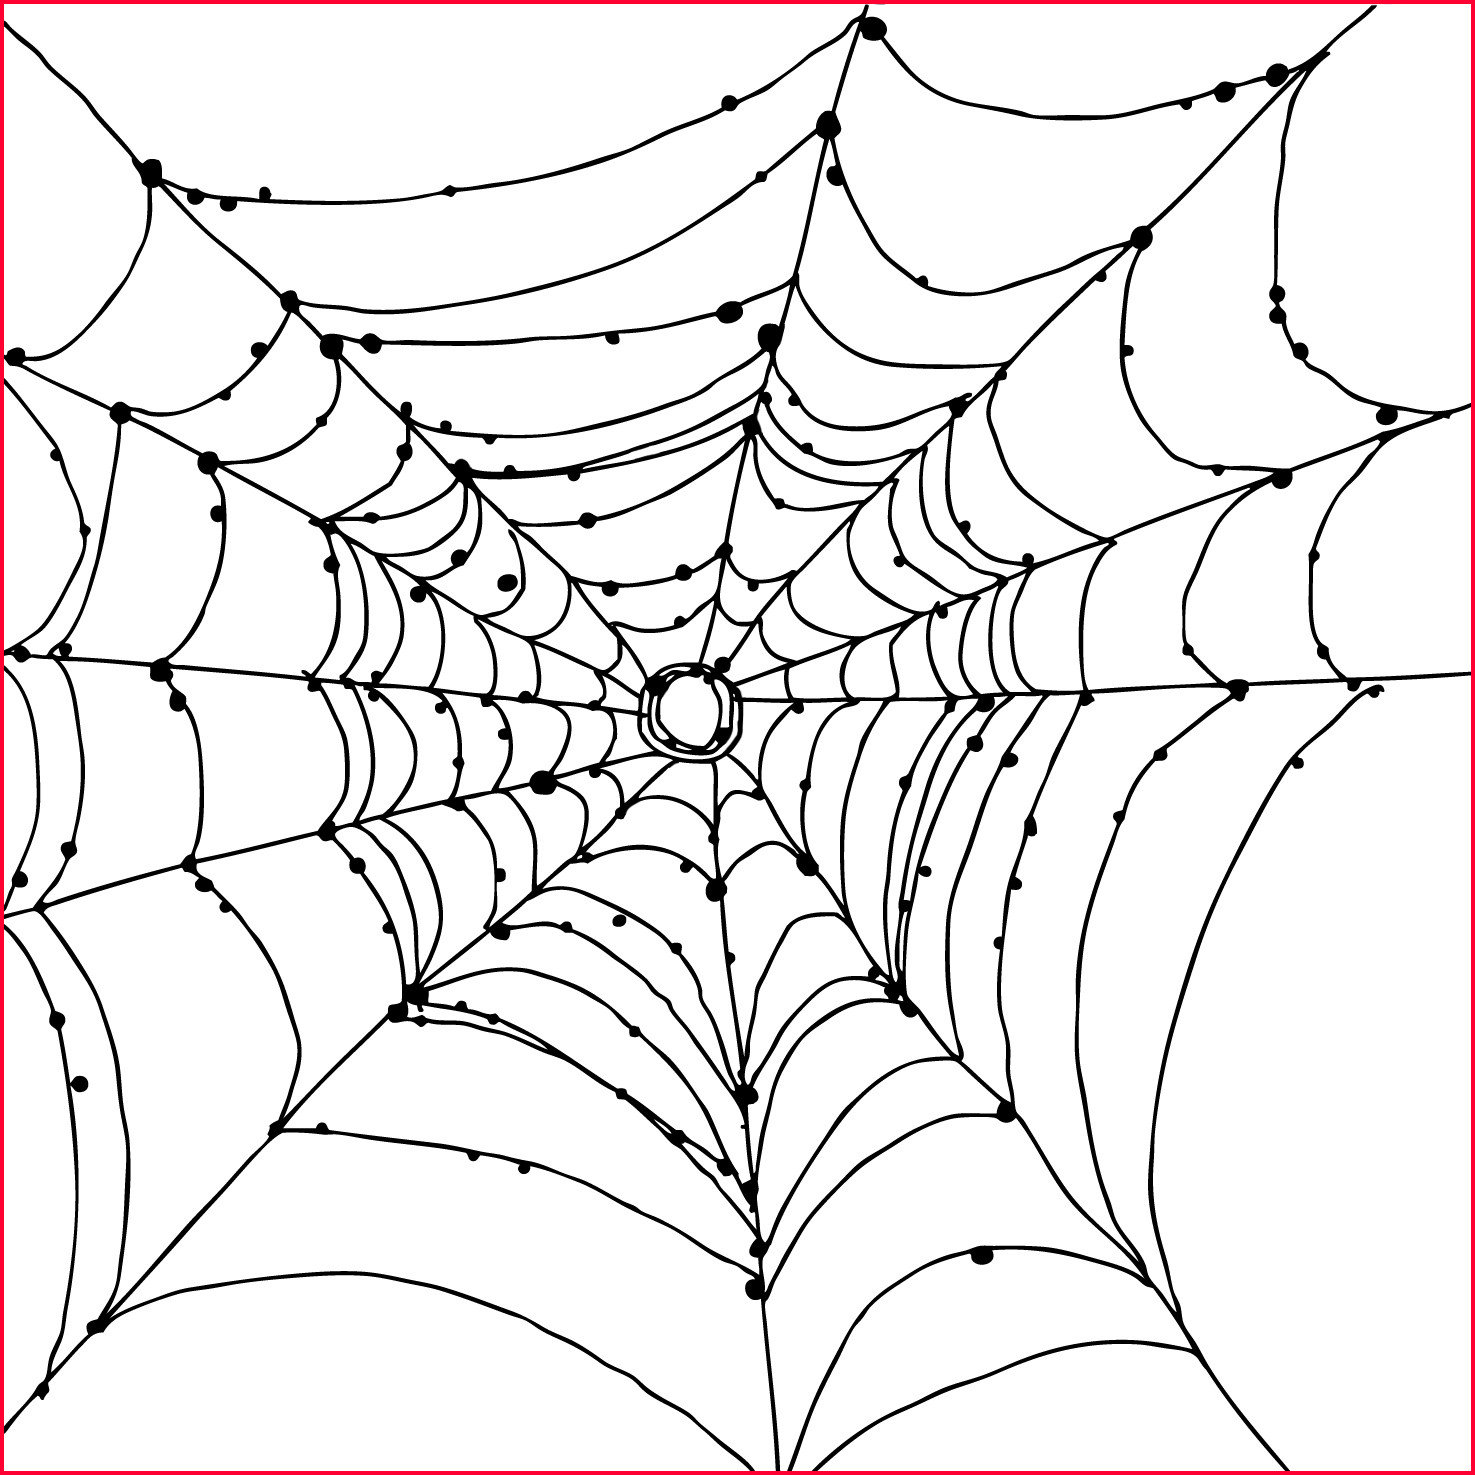
To draw a convincing spider web, you need to understand its structure. Spider webs are made up of radial lines, spirals, and anchor points. The radial lines extend from the center outward, while the spirals create the web’s intricate pattern. Here’s a breakdown of the key components:
Radial Lines
Think of radial lines as the spokes of a wheel. They provide the framework for the rest of the web. Start by drawing a small circle in the center, then add straight lines extending outward. These lines should be evenly spaced to create a balanced look.
Read also:Unveiling The Future Of Filmyfly 2025 Your Ultimate Guide
Spiral Patterns
Once you’ve established the radial lines, it’s time to add the spirals. Begin at the center and work your way outward, creating a continuous curve that connects each radial line. Remember, the spirals should get progressively larger as they move away from the center.
Pro tip: Use light strokes when drawing the spirals. This will make it easier to adjust and refine your lines later on.
Basic Techniques for Drawing Spider Webs
Now that you understand the structure of a spider web, let’s move on to the techniques. Here’s a step-by-step guide to help you create a stunning spider web drawing:
Step 1: Start with the Center
Begin by drawing a small circle in the middle of your paper. This will serve as the focal point of your spider web. From there, add five to eight radial lines extending outward. Make sure they’re evenly spaced and symmetrical.
Step 2: Add the Spirals
Using the radial lines as a guide, start drawing the spirals. Begin at the center and work your way outward, creating a continuous curve that connects each radial line. Keep your lines light and smooth to achieve a natural look.
Step 3: Refine Your Lines
Once you’ve drawn the basic structure, it’s time to refine your lines. Go over each line with a darker pencil to make them stand out. Pay attention to the intersections between the radial lines and spirals, ensuring they’re clean and precise.
Step 4: Add Depth and Texture
To make your spider web look more realistic, add shading and texture. Use a blending tool to create soft gradients along the spirals, giving the illusion of depth. You can also add small imperfections to mimic the natural wear and tear of a real spider web.
Advanced Techniques for Realistic Spider Web Drawing
If you want to take your spider web drawing to the next level, here are some advanced techniques to try:
Shading and Highlights
Shading is key to creating a realistic spider web. Use a range of pencils (HB, 2B, 4B) to achieve different levels of darkness. Start with light shading and gradually build up to darker tones. Don’t forget to add highlights to the areas where light hits the web, such as the center or edges.
Texture and Detail
Adding texture to your spider web will make it look more authentic. Experiment with different pencil strokes to create a variety of textures, such as smooth, rough, or frayed. You can also add small droplets of dew or dust particles to enhance the realism.
Perspective and Composition
Playing with perspective and composition can add an extra layer of interest to your spider web drawing. Try drawing the web from different angles, such as close-up or from above. Experiment with overlapping elements to create depth and dimension.
Common Mistakes to Avoid in Spider Web Drawing
Even the most experienced artists make mistakes. Here are some common pitfalls to watch out for when drawing spider webs:
- Not spacing radial lines evenly
- Using heavy-handed strokes
- Ignoring shading and texture
- Forgetting to add imperfections
By avoiding these mistakes, you’ll be able to create more polished and realistic spider web drawings.
Inspiration from Nature: Studying Real Spider Webs
One of the best ways to improve your spider web drawing skills is by studying real spider webs. Spend some time observing the intricate patterns and structures of actual webs. Take photos or sketches as reference material for your artwork.
Fun fact: Did you know that spider webs are made of silk, which is one of the strongest natural materials in the world? This strength and flexibility are what make spider webs so fascinating to artists and scientists alike.
Spider Web Drawing Styles: From Realistic to Abstract
While realistic spider web drawings are impressive, don’t be afraid to experiment with different styles. Here are a few ideas to inspire your creativity:
Abstract Spider Webs
Abstract spider webs can be a great way to explore color, shape, and form. Use bold lines and vibrant colors to create a modern interpretation of the classic spider web design.
Stylized Spider Webs
Stylized spider webs combine realism with artistic flair. You can simplify the structure or exaggerate certain elements to create a unique look that’s all your own.
Collaborative Spider Webs
Why not try collaborating with other artists to create a large-scale spider web drawing? This can be a fun and rewarding experience that pushes the boundaries of traditional art.
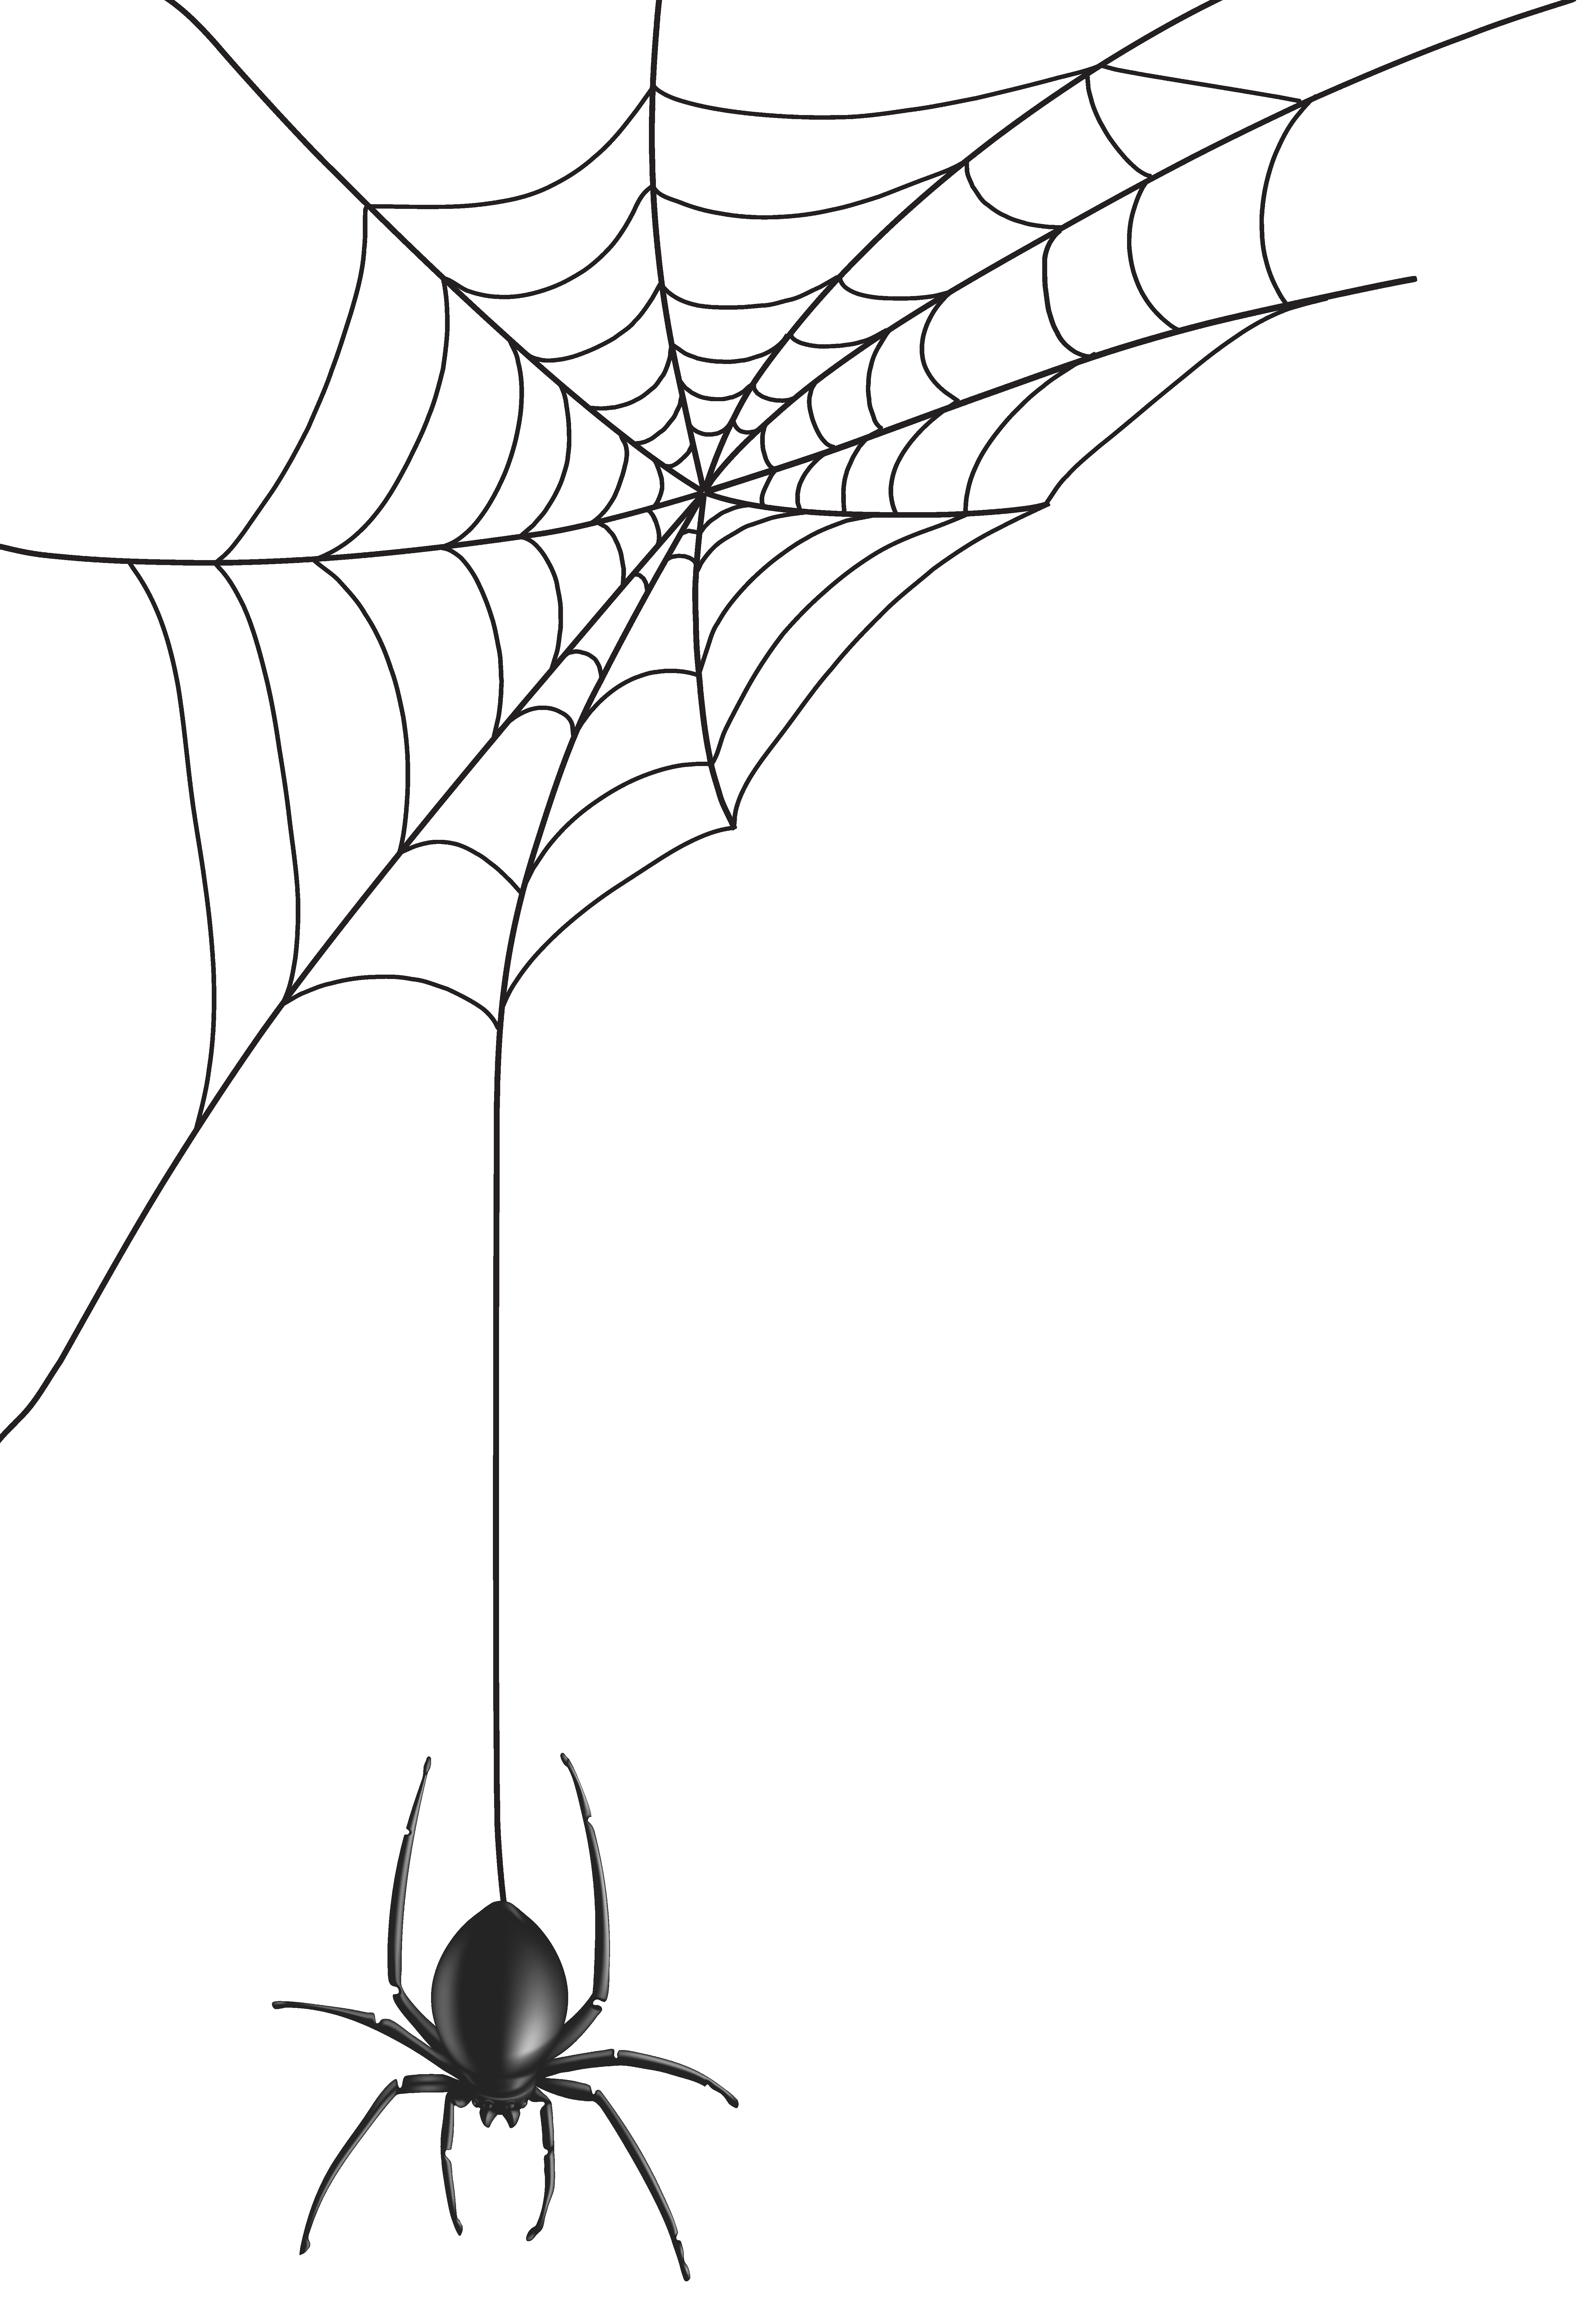
Final Touches: Adding the Spider
No spider web drawing is complete without its resident spider. Adding a spider to your artwork can bring it to life and add an extra layer of interest. Whether you choose to draw a realistic spider or a whimsical cartoon version, make sure it complements the overall style of your piece.
Pro tip: Use reference images to ensure your spider looks accurate and proportionate. Pay attention to details like legs, eyes, and body shape to create a convincing representation.
Conclusion: Elevate Your Art with Spider Web Drawing
Spider web drawing is a fascinating and rewarding art form that offers endless possibilities for creativity and expression. By understanding the structure, techniques, and styles involved, you can create stunning artworks that captivate and inspire.
So, what are you waiting for? Grab your tools and start practicing today. Remember, practice makes perfect, and with a little patience and dedication, you’ll be creating masterpieces in no time.
Don’t forget to share your artwork with the world! Post your spider web drawings on social media, join art communities, and connect with fellow artists. Who knows, you might just inspire someone else to pick up a pencil and start drawing.
Table of Contents
- Why Spider Web Drawing Matters in Art
- Tools You’ll Need for Spider Web Drawing
- Understanding the Structure of a Spider Web
- Basic Techniques for Drawing Spider Webs
- Advanced Techniques for Realistic Spider Web Drawing
- Common Mistakes to Avoid in Spider Web Drawing
- Inspiration from Nature: Studying Real Spider Webs
- Spider Web Drawing Styles: From Realistic to Abstract
- Final Touches: Adding the Spider
- Conclusion: Elevate Your Art with Spider Web Drawing
Happy drawing, and remember, the world is your canvas!